Resources
Case Study: Von Ruden
Machine Tool Metrology: Using Probe Data for In Process Checks
Two long held beliefs about inspection probing on a machine tool are:
“When you’re probing, you’re not making chips and when you’re not making chips, you’re not making money”.
And:
“Using probe data for QA checks is like having the fox watch the chicken house”.
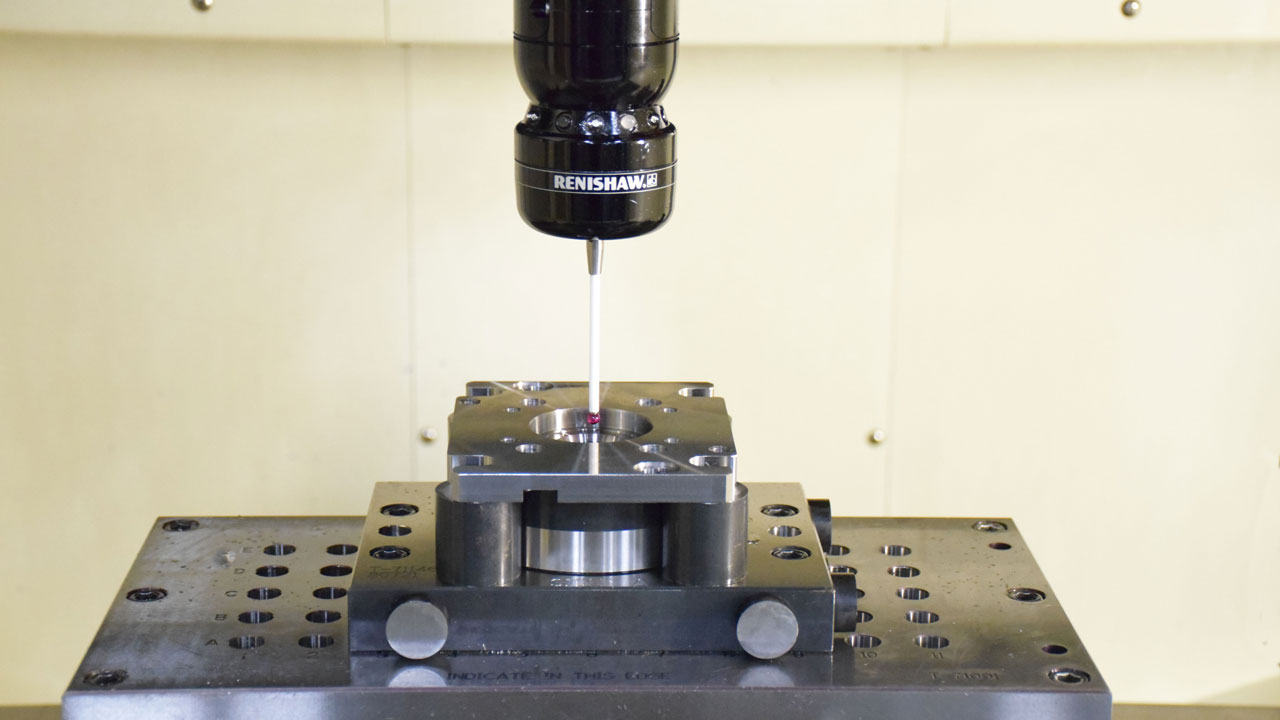
These ideas were challenged recently by Von Ruden Manufacturing. Based in Buffalo MN, Von Ruden designs and produces drive components that include hydraulic motors, gear boxes, brakes and driven and static tools for the machine tool industry. As a long time user of inspection probes on their CNC machining centers they use the data collected by the probe to make updates within the CNC control for adjusting offsets or establishing an initial part position. It became apparent to Von Ruden that the probe data could also be useful outside of the control for monitoring production process in real time. This includes checks of part sizes and locations during the machining cycle and the ability to do periodic checks on probe and machine performance. Modern CNC controls have the means to output probe data as it is produced. The challenge is to grab the data and quickly organize it into a useful structure.
The Software Solution
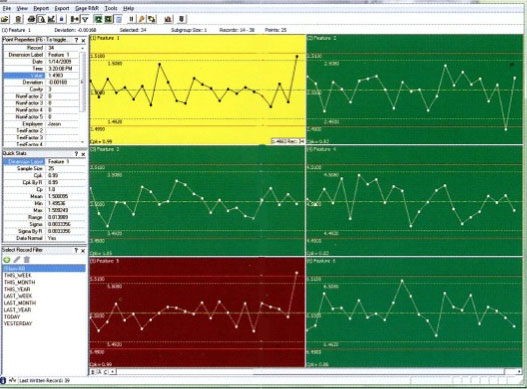
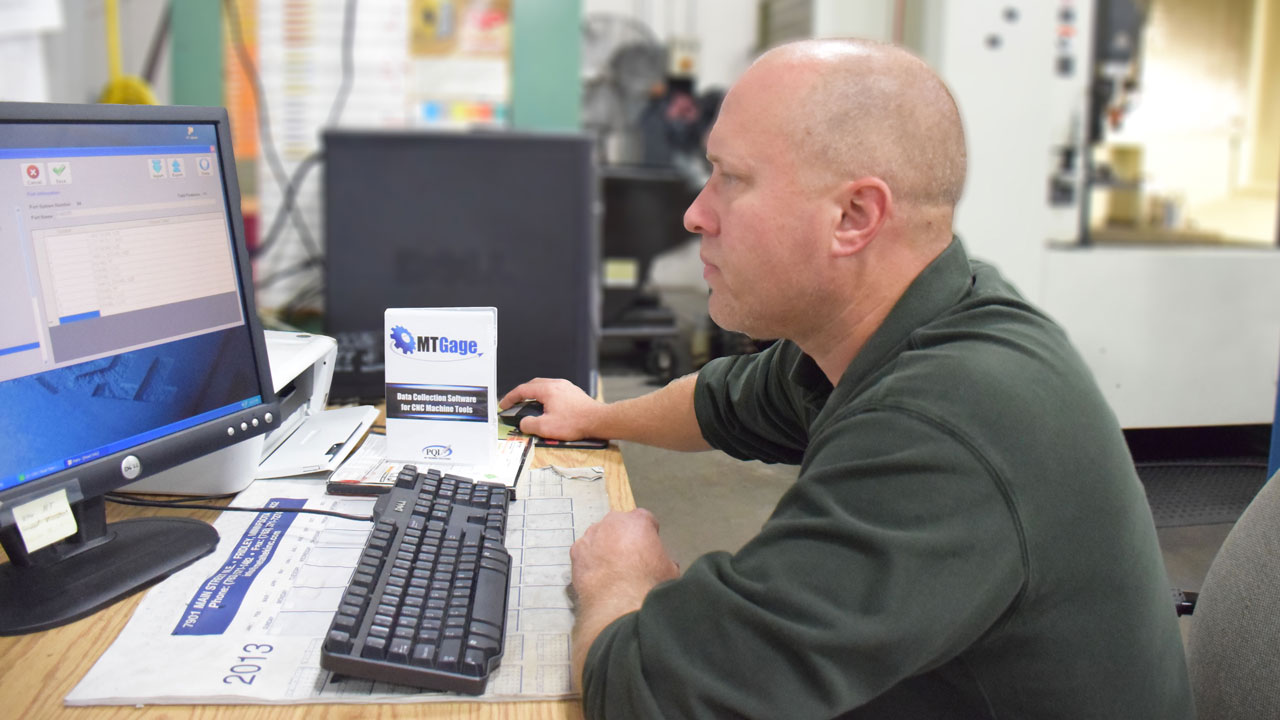
Von Ruden uses MTGage software to automatically collect measured data from the CNC machine tool probe. MTGage exports the data into multiple reports and displays. The first thing that is noticed at the machine tool is the “GREEN / YELLOW / RED” process control charts on a nearby monitor. The status of critical features of every new part produced can be seen along with trends of recently produced parts.
Kyle Christenson, a manufacturer engineer at Von Ruden uses MTGage for improving process control: "This approach allows me to use in process probe checks instead of stopping the process for checks with bore gages”, he adds. "This helps free up operator time for other activities and increase throughput in the cell.” The measured results are also sent to a database on the network where they can be stored and combined with other data from gages, CMMs and other inspection tools into a single inspection summary report.
Von Ruden also found new ways to track machine and probe performance by performing quick interim checks on a regular basis. Kyle Christensen, explains:
"I now can verify the accuracy of the probe by measuring a ring gage artifact and once a month, I create a validation report as a record to satisfy our ISO quality system".
Another piece of conventional wisdom, like “probing ads inefficiency” is the idea of the probe being the “fox that watches the chicken house”. Von Ruden has challenged this with three strategies:
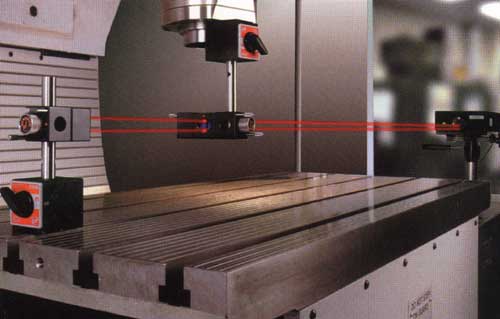
(1) The Makino machining center was calibrated for linear and volumetric accuracy with NIST traceable calibration instruments: a laser interferometer for linear accuracy and a telescoping ball bar for volumetric performance.
(2) A Gage Reproducibility and Repeatability was completed using MT Gage results and the same test was completed using their CMM. Results from the systems correlated very closely.
(3) High Accuracy Strain Gage probes were used instead of conventional switching probes. Renishaw strain gage probes use Rengage technology to deliver lower probe forces, improved repeatability and consistent trigger characteristics that are not achievable with traditional probe designs. This results in repeatability of .00001”, 4 times better than the earlier switching type probes and the ability to probe in all directions, not just along an axis.
Christensen concludes, "The goal was to improve the operation in a first phase test cell. We can now keep the machine tool moving, improve our inspection, and make sure the spindle is going. The implementation of the software was very easy: in less than one day it was up and running with programmer and operator training. Adding probe data collection and reporting to new part programs is easily accomplished.”
MT Gage software is developed by MT Probing Solutions (a division of Productivity Quality in Plymouth, MN), for more information visit www.gagesite.com.
For more information about Von Ruden Manufacturing, visit www.vonruden.com.
